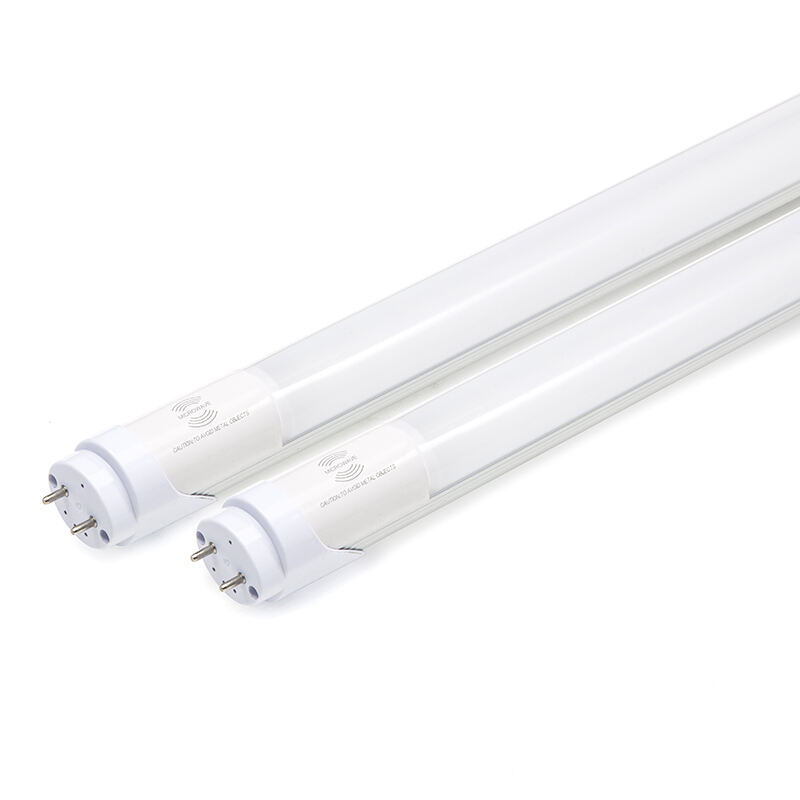
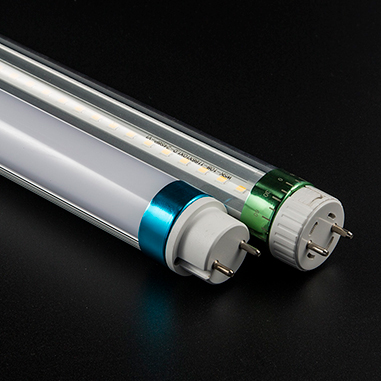
Kalimi nga ndricimi tradicional fluorescent në Tubë LED paraqet një hap të rëndësishëm drejt eficiencës energjetike dhe përmirësimit të cilësisë së dritës në hapësirat komerciale dhe rezidenciale. Kuptimi i mënyrës së instalimit të tubave LED në pajisje ekzistuese fluorescente mund t'ju kursejë shumë para, duke ofruar një ndriçim më të mirë. Ky udhëzues i hollësishëm do t'ju udhëzojë nëpër proces, duke siguruar një përmirësim të sigurt dhe të suksesshëm në teknologjinë LED.
Para se të filloni me procesin e instalimit, vlen të theksohet se tubat LED mund të zvogëlojnë konsumin e energjisë deri në 50% krahasuar me tubat fluorescente, duke zgjatur gjithashtu dy herë më shumë. Ky përmirësim nuk ju përfiton vetëm në faturat e energjisë, por gjithashtu kontribuon në qëndrueshmërinë mjedisore përmes zvogëlimit të përdorimit të energjisë dhe nevojës së zëvendësimeve.
Grumbullimi i mjeteve dhe materialeve të duhura është i rëndësishëm për një proces instalimi të qetë. Do t'ju duhen një tester tensioni, mbajtës për heqjen e izolimit të telave, kapëse për tela, bantë elektrike dhe një shurupçelës. Më së rëndëmja, sigurohuni që keni tuba LED të përshtatshëm që përputhen me specifikimet e pajisjes suaj. Hidhni kohë për të matur gjatësinë dhe diametrin e tubave tuaj ekzistues fluorescent për të blerë zëvendësimet e sakta LED.
Gjithashtu, konsideroni të keni në dorë pajisje sigurie, duke përfshirë guante të izoluara dhe syze sigurie. Puna me pajisje elektrike kërkon vëmendje të veçantë ndaj protokolleve të sigurisë, dhe posedimi i mbrojtjes së duhur mund të parandalojë aksidentet gjatë instalimit.
Siguria duhet të jetë gjithmonë shqetësimi juaj kryesor kur punoni me pajisje elektrike. Filloni duke e fikur energjinë në ndërprerësin e qarkut – jo thjesht në çelësin e dritës. Përdorni testerin tuaj të tensionit për të konfirmuar se asnjë rrymë nuk po shkon te pajisja. Kujtoni që edhe kur është e fikur, kondensatorët në balast mund të mbajnë ngarkesë, kështu që ekzekutohuni me kujdes gjatë gjithë procesit.
Dokumentoni konfigurimin ekzistues të kabllave duke bërë foto ose duke bërë shënime të hollësishme para çdo modifikimi. Kjo dokumentim mund të vijë shumë i dobishëm nëse më vonë do të duhet të diagnostikonit ose të zhbënit instalimin.
Instalimi direkt me tel, i njohur gjithashtu si anashkalim i balastit, përfshin heqjen e balastit fluorescent dhe rivendosjen e pajisjes për të ushqyer tubat LED drejtpërdrejt. Kjo metodë zakonisht ofron zgjidhjen më të efektshme nga pikëpamja e konsumit të energjisë dhe eliminon nevojën për mirëmbajtje ose zëvendësimin e balastave të vjetruar. Edhe pse kërkon punë të mëtejshme fillestare, instalimet me tel direkte shpesh rezultojnë në kosto më të ulëta të mirëmbajtjes në afat të gjatë.
Procesi përfshin lidhjen e tensionit të rrjetit drejtpërdrejt me mbajtësit e llambës, duke siguruar polaritetin e duhur për tubat me një skaj ose duke krijuar lidhje të njejtë për tubat me dy skaje. Kjo modifikim krijon një pajisje të dedikuar LED që nuk do të pranojë tuba fluorescent, duke parandaluar instalimet e rastësishme të dritave të papajtueshme.
Tubat LED me funksion 'plug-and-play' punojnë me ballastet ekzistuese të fluorescenteve, çfarë i bën më të thjeshtin për t'u instaluar. Thjesht hiqni tubat fluorescent dhe vendosni zëvendësues LED të përputhshëm. Megjithatë, kjo lehtësi vjen me disa konsiderata - ballasti vazhdon të konsumojë energji, dhe dështimi i tij në të ardhmen do të kërkojë zëvendësimin ose përmirësimin në një skemë lidhjeje direkte.
Kur zgjidhni tuba 'plug-and-play', verifikoni përputhshmërinë me llojin e veçantë të ballastit tuaj. Disa tuba LED punojnë me ballaste të nisjes së menjëhershme, por jo me ato të nisjes së shpejtë ose të nisjes së programuar. Prodhuesit zakonisht ofrojnë lista përputhshmërie për t'u ndihmuar të bëni zgjedhjen e duhur.
Filloni duke hequr me kujdes tubat e ekzistueshëm fluorescent, duke i hedhur ato në mënyrë të rregullt sipas rregullores vendore për shkak të përmbajtjes së merkurit në to. Nëse po kryeni një instalim të drejtpërdrejtë, hiqni balastin dhe filluesin (nëse ka). Etiketoni të gjitha fijet para se t'i çlidhni për të siguruar montimin e saktë përsëri. Disa pajisje mund të kërkojnë heqjen e mbajtësve të kontaktëve për zëvendësim ose modifikim.
Pastrojeni mirë pajisjen kur është e hapur, duke hequr çdo pluhur ose copëza që mund të ndikojnë në performancën e tubeve LED. Kontrolloni pajisjen për çdo shenjë dëmtimi ose përdorimi që mund të duhet të merren parasysh para se të vazhdohet me instalimin.
Për instalimet me fije të drejtpërdrejta, ndiqni saktësisht skemën e lidhjes elektrike të prodhuesit. Zakonisht kjo përfshin lidhjen e telit të fazës (të zi) në një skaj të pajisjes dhe të telit neutral (të bardhë) në skajin tjetër. Sigurojini të gjitha lidhjet me kapakë mbajtësish tela dhe baret izoluese elektrike. Kontrolloni dy herë që të gjitha telat janë izhuar mirë dhe nuk prekin mbështetësin metalik të pajisjes.
Kur instaloni mbajtës të rinj llambash, nëse kërkohet, sigurohuni që ato të jenë të montuar dhe të aligjnuar saktë. Një aligjnim i dobët mund të bëjë të vështirë futjen e tubave LED ose të shkaktojë që këta të vendosen gabimisht në pajisje. Hidhni kohë për të testuar përshtatshmërinë para se të përfundoni instalimin.
Pas përfundimit të instalimit, riktheni energjinë në ndërprerësin e qarkut dhe testoni dritat. Tubat LED duhet të ndizen menjëherë pa dridhje ose vonesë. Nëse përdorni një konfigurim me lidhje të drejtpërdrejtë, testoni secilin tub individualisht për të identifikuar çdo problem me lidhjen. Kini kujdes për çdo zë të pazakontë ose sjellje që mund të tregojë një problem.
Monitorizoni instalimin për disa orë për të siguruar performancë të qëndrueshme. Disa probleme mund të mos dalin menjëherë, prandaj rekomandohen kontrollime periodike gjatë ditëve të para të funksionimit. Mbani regjistrin e çdo parregulltie në ndriçim ose funksionim.
Nëse tubat LED nuk ndizen, verifikoni të gjitha lidhjet dhe sigurohuni që janë të orientuar si duhet në soketa. Disa tuba LED janë të ndjeshëm ndaj polaritetit dhe duhet të instalohen në një drejtim specifik. Kontrolloni që ballasti i mbetur të jetë i përputhshëm me tubat LED nëse përdoret metoda plug-and-play. Dridhja mund të tregojë një ballast duke dështuar ose një lidhje të gabuar.
Dokumentoni çdo problem që haset dhe zgjidhjet për referencë të ardhme. Kjo informacion mund të jetë i vlefshëm për mirëmbajtjen e pajisjeve të tjera ose për zgjidhjen e problemeve të ngjashme në të ardhmen. Konsideroni mbajtjen e gypave rezervë dhe pjesëve për zëvendësime të shpejta nëse kjo do të nevojitet.
Nuk rekomandohet të përzien LED dhe gypa fluorescent në të njëjtën pajisje. Kjo mund të shkaktojë probleme në funksionim dhe mund të dëmtojë gypat ose balastin. Konvertoni të gjithë gypat në një pajisje në LED njëkohësisht për performancë optimale dhe siguri.
Tubat e cilësisë së lartë LED zakonisht zgjasin nga 50,000 deri në 100,000 orë, në varësi të prodhuesit dhe kushteve të përdorimit. Kjo është dukshëm më e gjatë sesa tubat tradicionalë fluorescent, të cilët zakonisht zgjasin 20,000 deri në 30,000 orë.
Po, tubat LED mund të zvogëlojnë konsumin e energjisë me 40-60% krahasuar me tubat fluoreshente. Kursimet e sakta varen nga tarifat e energjisë elektrike dhe modelet e përdorimit, por shumica e instalimeve ia dalin mbanë përmes kursimit të energjisë brenda dy deri në tre viteve.

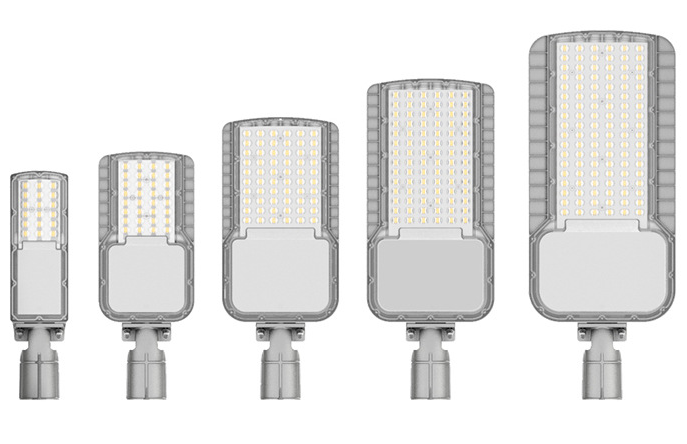
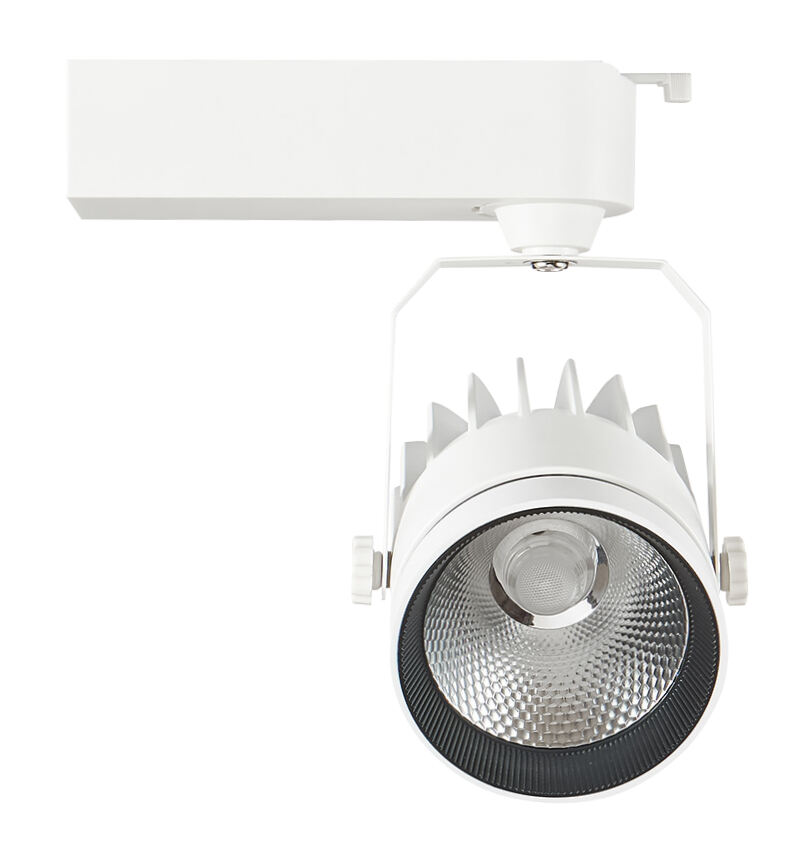
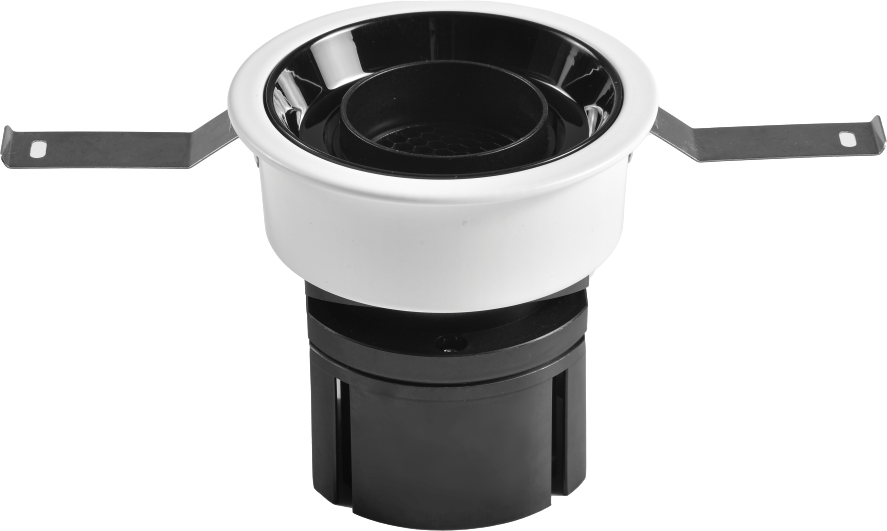
Ndriçim komercial, drita e ulët LED, dhe dritat e tubave LED nga WISCOON. Eksploro dritat e jashtme që kursejnë energji me dizajne unike dhe certifikime globale.

Kontaktoni tani!


3rd Kat, Ndërmarrje B, Nr.65, Rruga GaoKe, Rajoni LongGang, Shenzhen 518172, Kinë
Të drejta të krejt reserved © SHENZHEN WISCOON TECH CO.,LTD Politika e privatësisë
 EN
EN
 AR
AR
 BG
BG
 HR
HR
 CS
CS
 DA
DA
 NL
NL
 FI
FI
 FR
FR
 DE
DE
 EL
EL
 IT
IT
 JA
JA
 KO
KO
 NO
NO
 PL
PL
 PT
PT
 RO
RO
 RU
RU
 ES
ES
 SV
SV
 TL
TL
 ID
ID
 LV
LV
 LT
LT
 SR
SR
 SK
SK
 SL
SL
 UK
UK
 SQ
SQ
 ET
ET
 HU
HU
 MT
MT
 TH
TH
 TR
TR
 AF
AF
 MS
MS
 GA
GA
 IS
IS
 AZ
AZ