LED tracklight fixtures have revolutionized modern interior lighting design, offering unprecedented flexibility and energy efficiency. Whether you're renovating your retail space, updating your home's lighting scheme, or creating an art gallery display, understanding the proper installation and adjustment of LED tracklight fixtures is crucial for achieving optimal illumination. This comprehensive guide will walk you through everything you need to know about installing and customizing your track lighting system.
Before diving into installation, it's essential to choose the appropriate LED tracklight fixtures for your space. Consider factors such as voltage requirements, track type compatibility, and lighting output. Most residential LED tracklight fixtures operate on standard line voltage (120V), while commercial applications might require higher voltage systems. The track type - H, J, or L - must match your chosen fixtures to ensure proper connection and functionality.
Take accurate measurements of your installation area and plan the layout carefully. Factor in the distance between power sources, switch locations, and any architectural features that might affect placement. Remember that LED tracklight fixtures typically require at least 6 inches of clearance from combustible materials and adequate ventilation for optimal performance.
Success in installing LED tracklight fixtures begins with having the right tools at hand. You'll need a wire stripper, voltage tester, screwdrivers, level, measuring tape, pencil, and drill with appropriate bits. For electrical connections, gather wire nuts, electrical tape, and mounting hardware specific to your track system. Don't forget safety equipment like work gloves and safety glasses.
Ensure you have all necessary mounting brackets, end caps, and straight connectors or flexible connectors if your design includes corners or curves. Having spare parts on hand can save time and prevent installation delays.
Begin the installation by turning off power at the circuit breaker. Use a voltage tester to confirm the circuit is dead before proceeding. Mark your mounting points on the ceiling, ensuring they align with ceiling joists or use appropriate anchors for secure installation. When mounting the track, maintain consistent spacing between support points - typically every 16 inches for residential installations.
Install mounting brackets following manufacturer specifications, ensuring they're level and properly secured. Thread electrical wires through the track or connection point before securing the track to mounted brackets. Most LED tracklight fixtures require proper polarity, so pay close attention to wire connections - typically black (hot), white (neutral), and green or bare copper (ground).
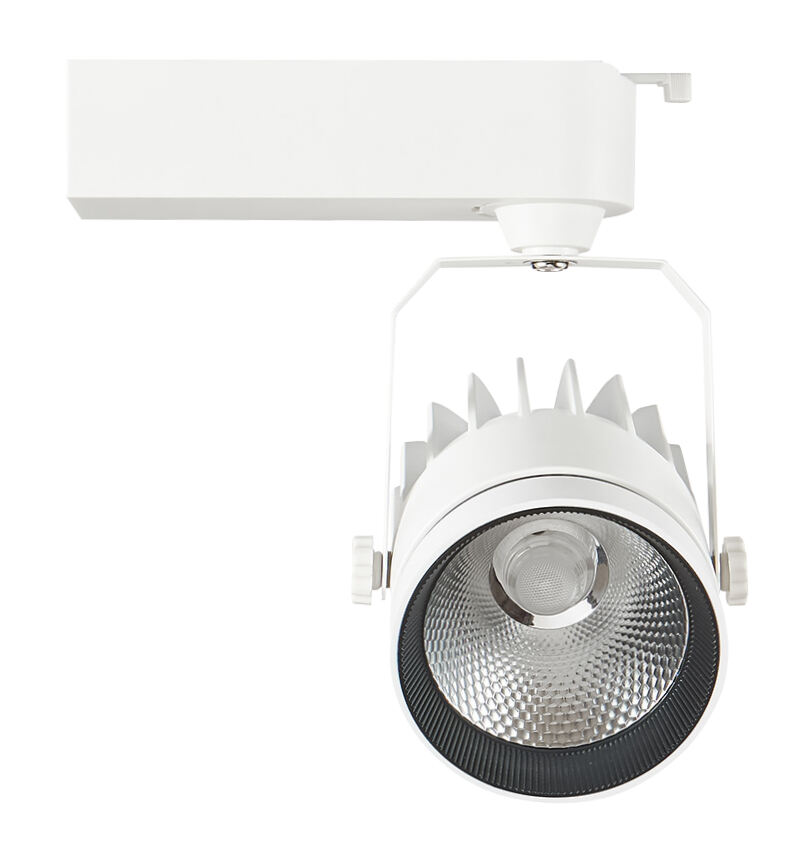
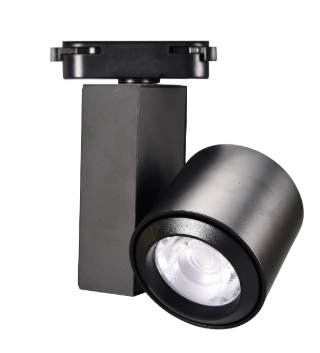
With the track securely mounted, begin installing individual LED tracklight fixtures. Most systems use a twist-and-lock mechanism - insert the fixture adapter into the track slot, then rotate until it clicks into place. Ensure the contact arms make proper connection with the track's electrical conductors. Test each fixture's security by gently pulling downward - properly installed heads should remain firmly in place.
Pay attention to polarity indicators on both track and fixtures to prevent installation in the wrong orientation. Some LED tracklight fixtures have specific insertion points or can only be installed in one direction. Take time to verify each connection to avoid potential electrical issues or fixture damage.
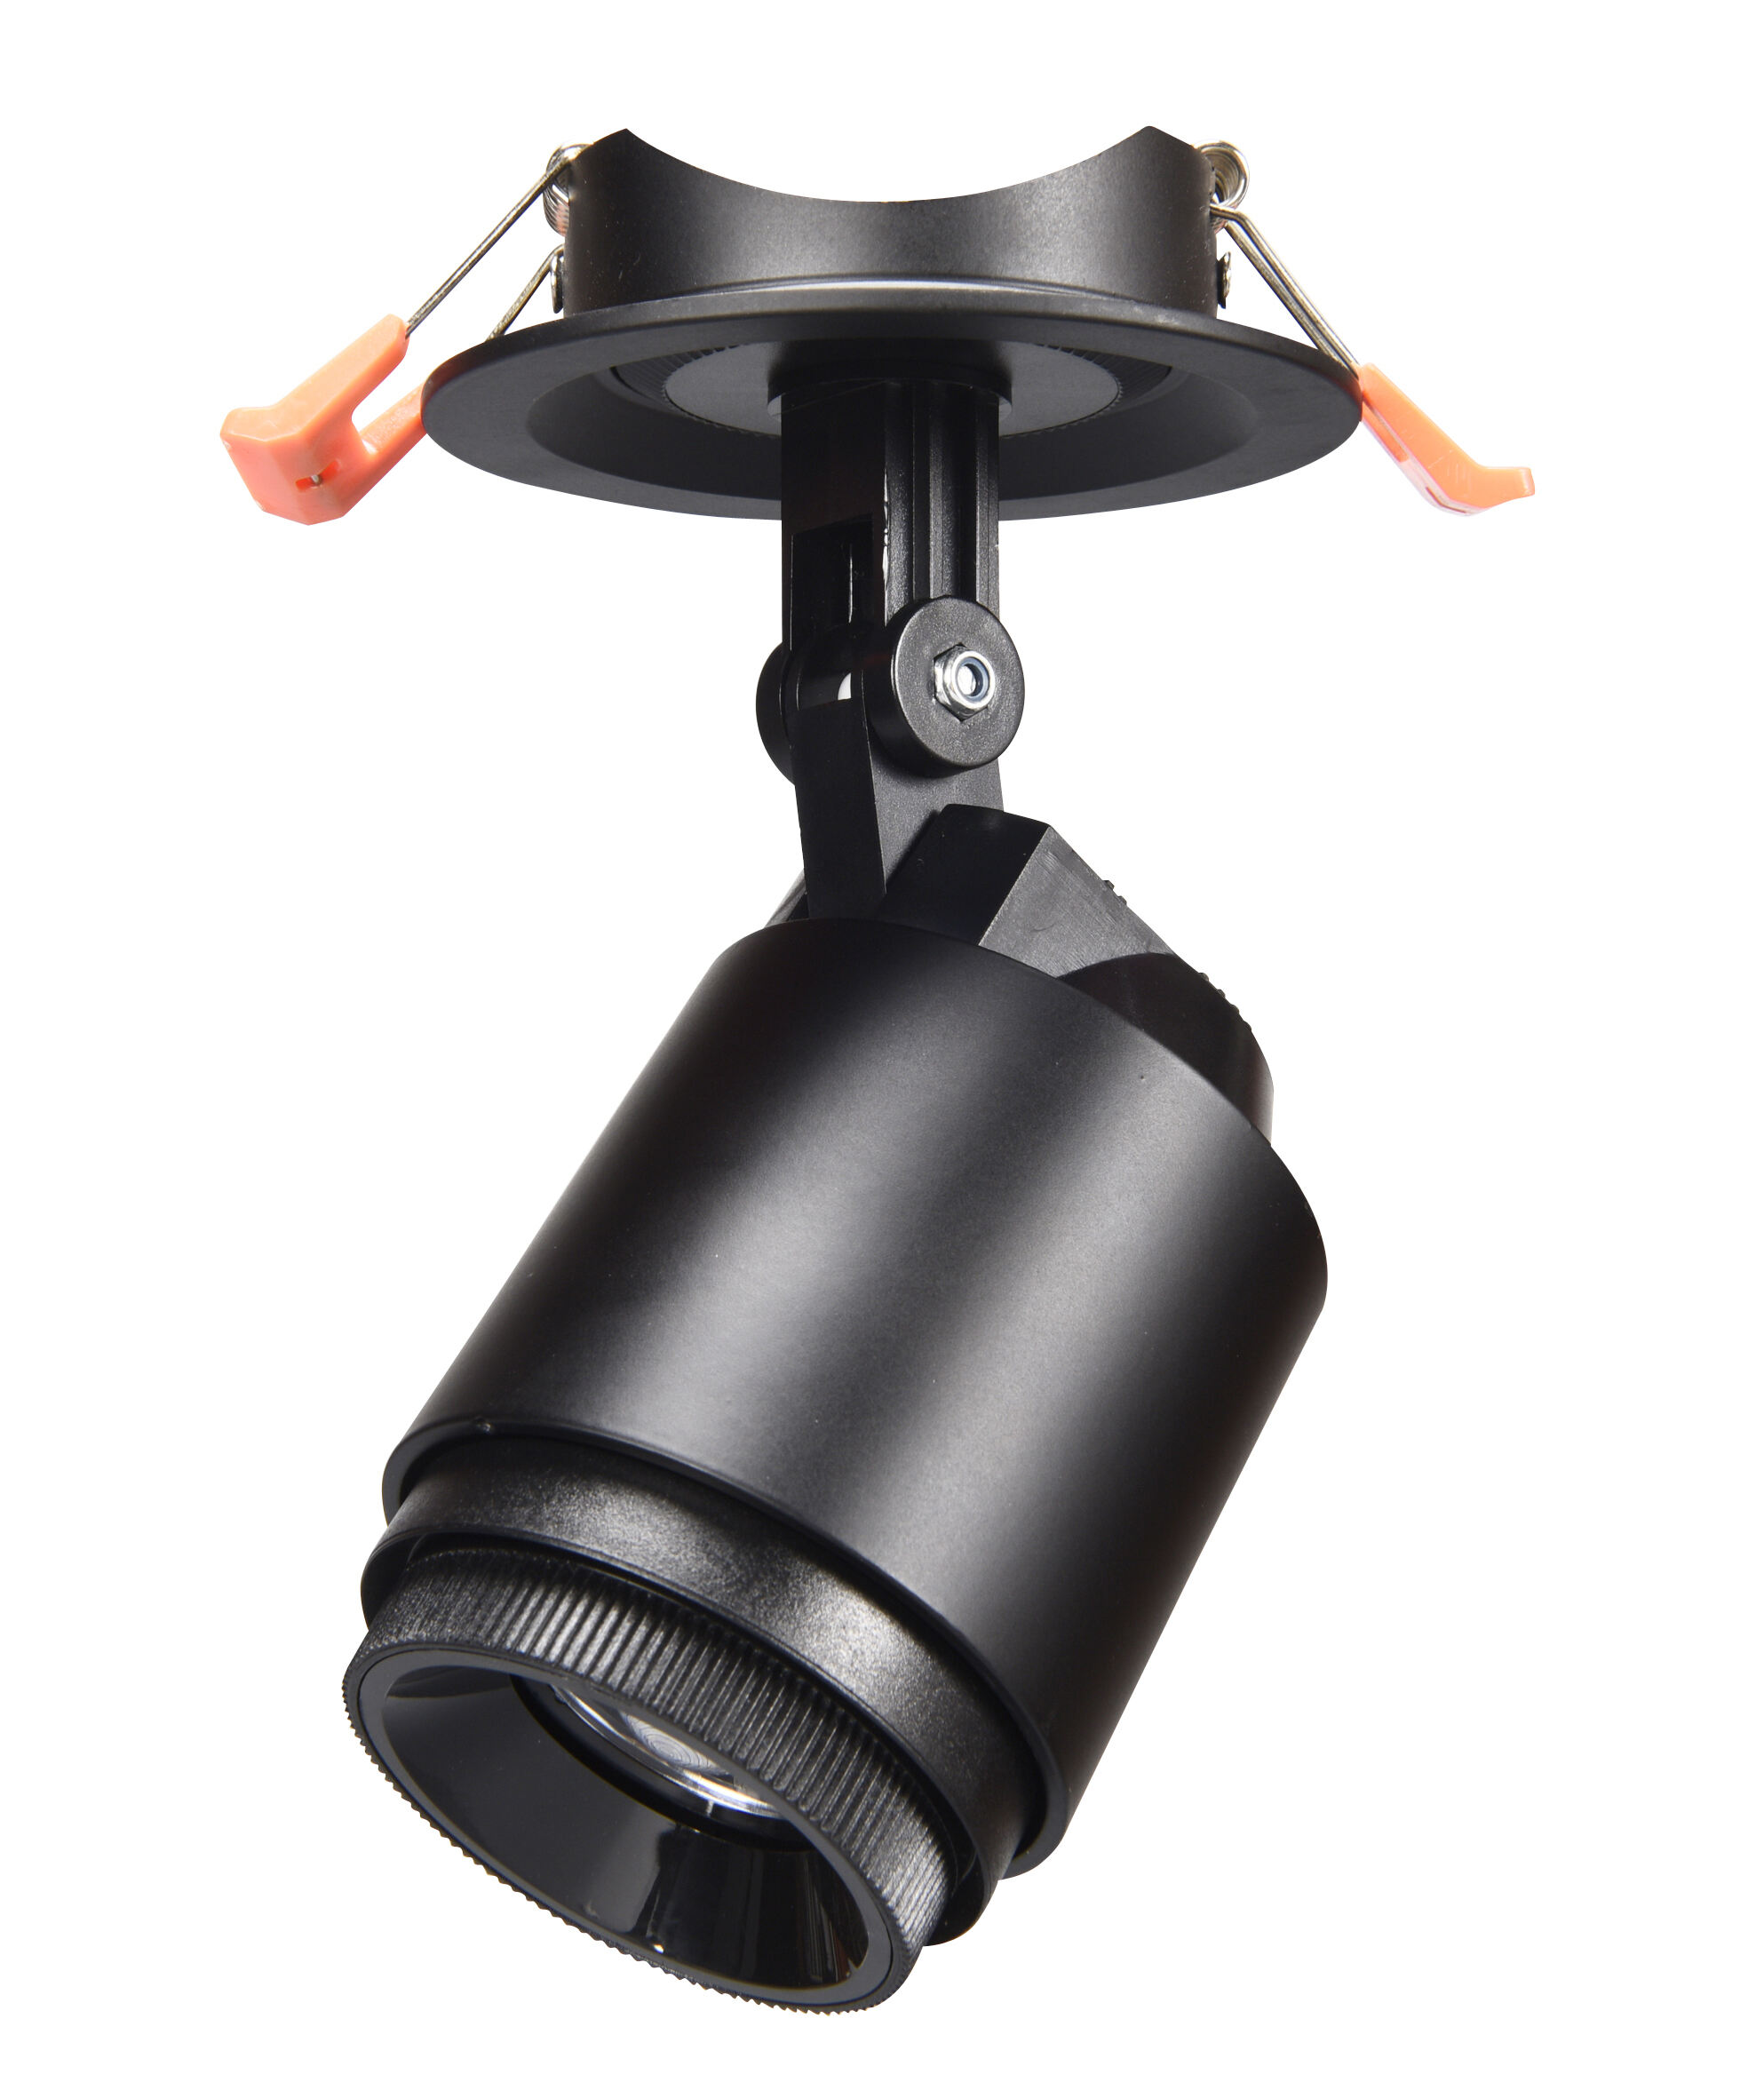
The beauty of LED tracklight fixtures lies in their adjustability. Most heads can rotate 350 degrees horizontally and tilt 90 degrees vertically. When positioning lights, consider the beam spread and intended illumination targets. Start by roughly positioning all fixtures, then fine-tune each one while observing the overall lighting effect.
For accent lighting, aim fixtures at approximately 30 degrees from vertical for optimal highlighting. When illuminating artwork, position lights at a 35-45 degree angle to minimize glare while maximizing visibility. Remember that LED tracklight fixtures typically maintain their position through friction, so make adjustments deliberately and firmly.
Many modern LED tracklight fixtures offer dimming capabilities and adjustable color temperatures. If your system includes these features, take time to calibrate each fixture for optimal performance. Start with full brightness and gradually reduce intensity until achieving desired illumination levels. For color-tunable fixtures, adjust white balance to complement room décor and enhance visual comfort.
Consider ambient light conditions when fine-tuning your setup. Test adjustments during different times of day to ensure optimal performance in varying light conditions. Document final settings for easy reference during future maintenance or adjustments.
While LED tracklight fixtures are known for longevity, regular maintenance ensures optimal performance. Schedule quarterly cleaning of fixture lenses and heat sinks to prevent dust accumulation. Use a soft, dry cloth for cleaning, avoiding liquid cleaners that might damage electrical components. Check and tighten any loose connections or mounting hardware during maintenance sessions.
Monitor fixture performance for signs of degradation such as flickering, reduced brightness, or color shifts. Many LED tracklight fixtures include built-in indicators for maintenance needs or approaching end-of-life. Keep replacement parts on hand for critical applications to minimize downtime.
When troubleshooting LED tracklight fixtures, start with the basics. If a fixture isn't working, verify proper insertion into the track and check for secure electrical connections. Sometimes, simply removing and reinstalling the fixture can resolve contact issues. For dimming problems, ensure compatibility between fixtures, track, and dimming controls.
Address any signs of overheating immediately by checking ventilation clearance and cleaning heat dissipation surfaces. If multiple fixtures exhibit problems, inspect track connections and verify proper circuit loading. When in doubt, consult a qualified electrician, especially for complex electrical issues.
Yes, LED tracklight fixtures can be installed on sloped ceilings using special mounting brackets or adapters designed for angled installations. However, verify that your chosen track system is rated for sloped ceiling installation and follow manufacturer guidelines for maximum angle limitations.
The number of fixtures depends on several factors including circuit capacity, track length, and individual fixture wattage. Generally, a 20-amp circuit can handle up to 1,920 watts at 80% capacity. Calculate total wattage of planned fixtures and ensure you're within circuit limitations, typically allowing for 8-12 fixtures per 8-foot track section.
Quality LED tracklight fixtures typically last 25,000 to 50,000 hours under normal operating conditions. This translates to approximately 10-20 years of regular use. However, actual lifespan can vary based on usage patterns, environmental conditions, and maintenance practices.

Commercial lighting, LED downlights, and LED tube lights by WISCOON. Explore energy-saving exterior lighting with unique designs and global certifications.

Contact Now!


3rd Floor,Building B,No.65,GaoKe Ave. LongGang District,Shenzhen518172,China
Copyright © SHENZHEN WISCOON TECH CO.,LTD All Rights Reserved Privacy Policy
 EN
EN
 AR
AR
 BG
BG
 HR
HR
 CS
CS
 DA
DA
 NL
NL
 FI
FI
 FR
FR
 DE
DE
 EL
EL
 IT
IT
 JA
JA
 KO
KO
 NO
NO
 PL
PL
 PT
PT
 RO
RO
 RU
RU
 ES
ES
 SV
SV
 TL
TL
 ID
ID
 LV
LV
 LT
LT
 SR
SR
 SK
SK
 SL
SL
 UK
UK
 SQ
SQ
 ET
ET
 HU
HU
 MT
MT
 TH
TH
 TR
TR
 AF
AF
 MS
MS
 GA
GA
 IS
IS
 AZ
AZ